So I've been making good on my pledge to sew something for myself this week! Two things I didn't really take into consideration: Making clothes for grown-ups uses quite a bit more fabric than making clothes for tiny girls, and making clothes for grown-ups takes a little bit more time than tiny clothes. Also, I made a few stooopid mistakes that are holding me up. Frustrating. But I want to actually WEAR these when I'm done, so I'm doing everything the right way and it looks like that means the long way!
For one top, I need coordinating bias tape. So what the heck... I decided to bite the bullet and make matching bias tape! I had plenty of fabric left after cutting the main pieces... so one of my fears (not enough fabric to make all the tape!) was immediately squelched. Also, I recently (finally) purchased a large sewing ruler thingy (ha! that's the technical term.), so the actual measuring and uniform size thing was not an issue either.
I think the most difficult part of making the bias tape was exlplaining to my husband what "bias tape" is when he asked what I was doing :).
Oh, wait. On second thought - it was either that or that the pattern I'm using is from the other side of the pond and all of the measurements are in centimeters. So in order to figure out how many inches to make things I have to constantly be using a conversion calculator on my computer.
Here's what I did:
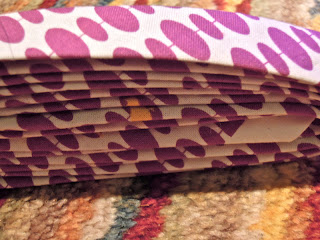
1. Fold strip of fabric cut on the bias in half. I liked pinning it the entire length to make sure it was even.
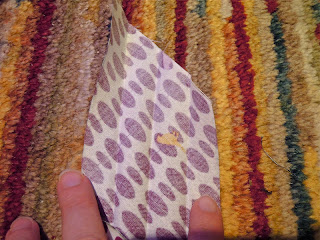
(here it is close up, so you can see the pin and the cute little bird.
2. Iron it flat. What's that? You iron on an ironing board? Not your living room rug? Pshaw.
3. Fold outer raw edges in to the center crease. I pinned again, but you don't have to. Iron again. Be careful not to stretch as you iron!
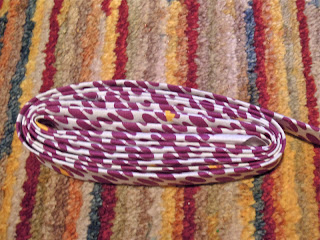
...and that's really it. Now you have a lovely piece of bias tape, in whatever width/length/pattern you need!
her it is unfolded once....
And here it is unfolded twice! You can see all 3 ironed creases...


No comments:
Post a Comment